Where Websites Come To Life
Adding your custom logo brand in Plesk
Posted: May 14th, 2017
This tutorial assumes that you have already logged in to Plesk.
Now let's learn how to upload a custom logo to your Plesk control panel.
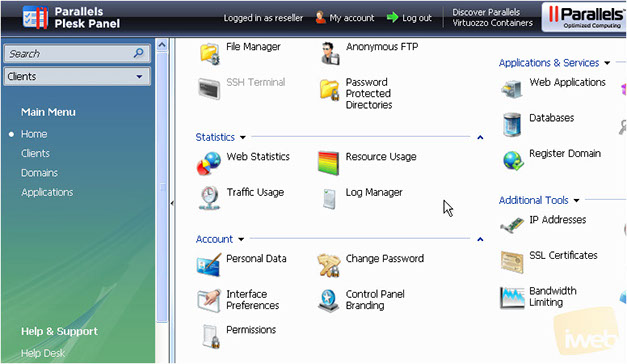
1) Scroll down to Account group.
2) Click Control Panel Branding icon.
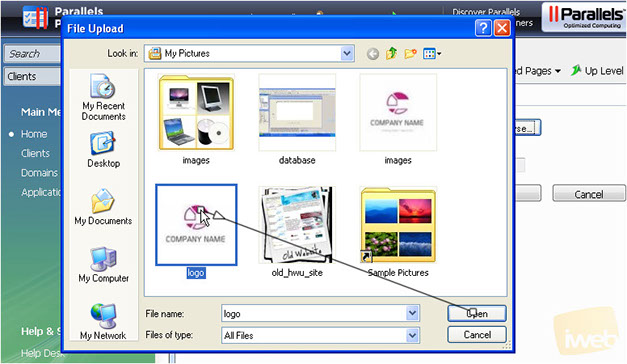
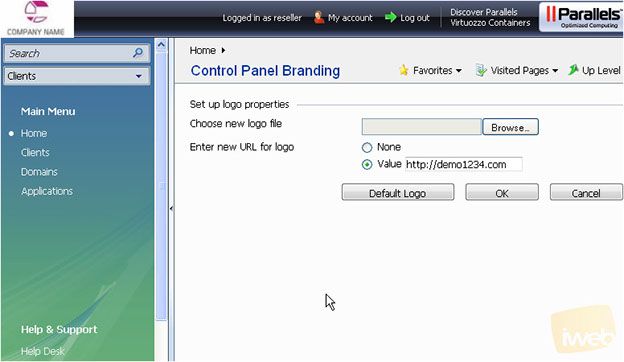
3) Click Browse to locate a custom logo file on your local computer..
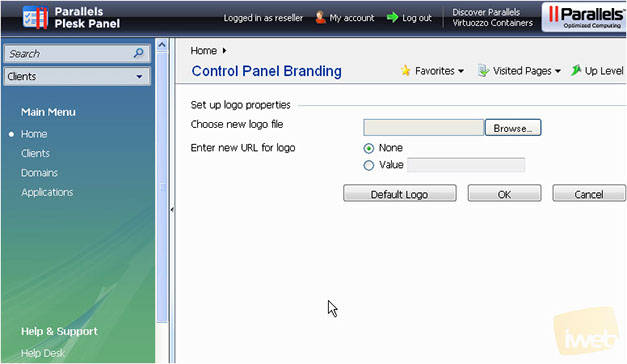
4) Select the necessary file and click Open.
5) Then select Value option and enter your website's URL.
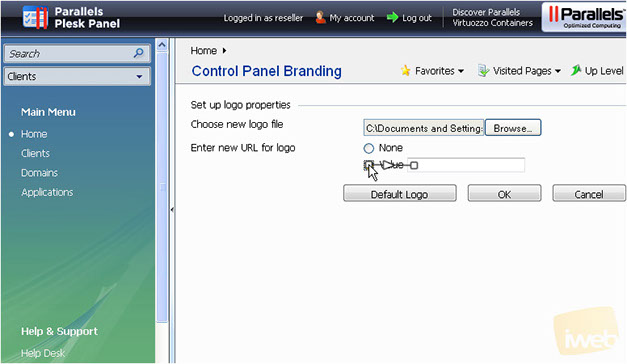
6) Click OK when finished.
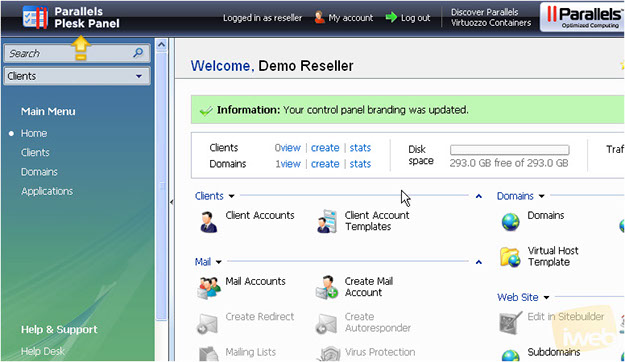
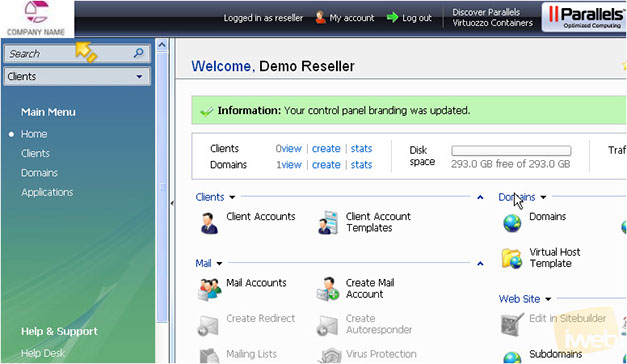
That's it! Our new logo has replaced the original Plesk logo for our Plesk control panel and for all our customers control panels.
Now let's see how to change it back...scroll down.
7) Click Control Panel Branding icon.
8) Click Default Logo option here.
The original Plesk logo is now shown here.