Where Websites Come To Life
Configuring settings in WordPress
Posted: May 14th, 2018
This tutorial will show you how configure settings in WordPress.
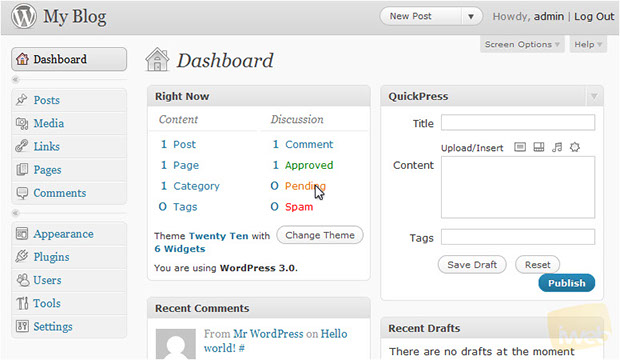
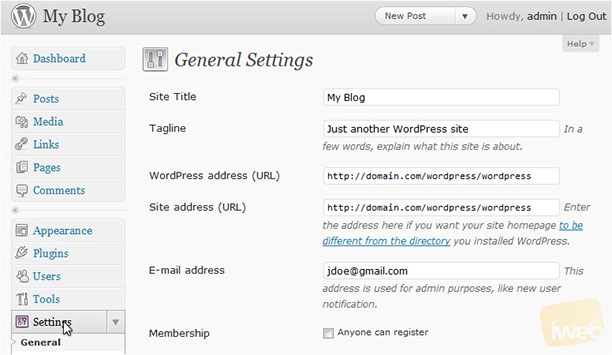
1) This tutorial assumes you are already logged into WordPress. Click Settings in the sidebar on the left.
KEK
This page has general settings that you can change, like the blog title, tagline, and URL.
KEK
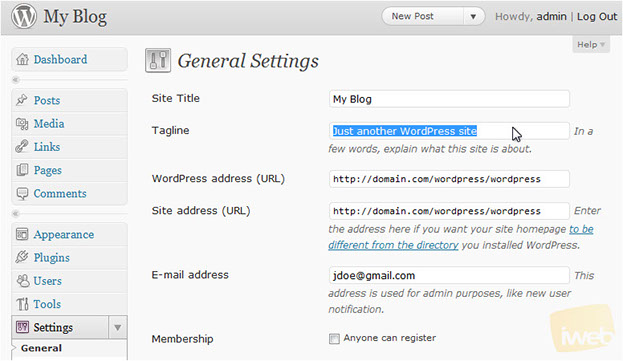
2) Change the blog's Tagline.
KEK
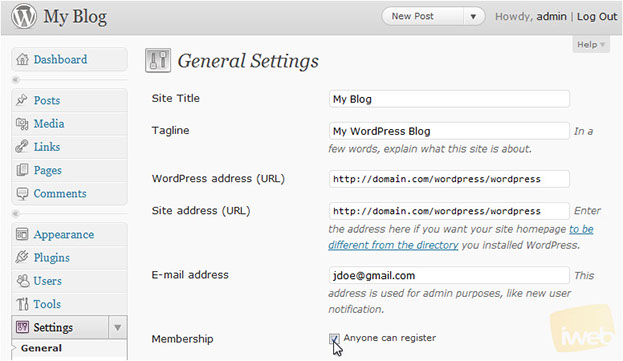
3) Choose who can register.
KEK
4) Scroll down.
KEK
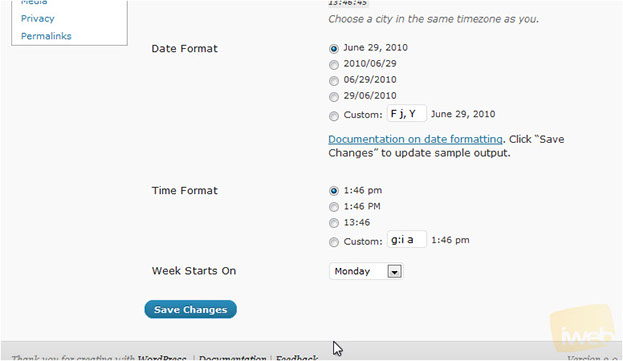
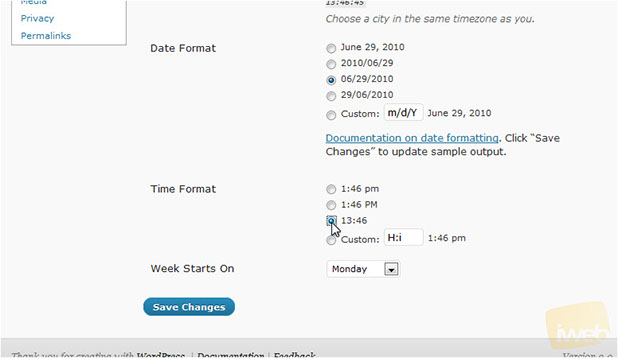
5) Select the Date Format.
6) Choose the Time Format.
KEK
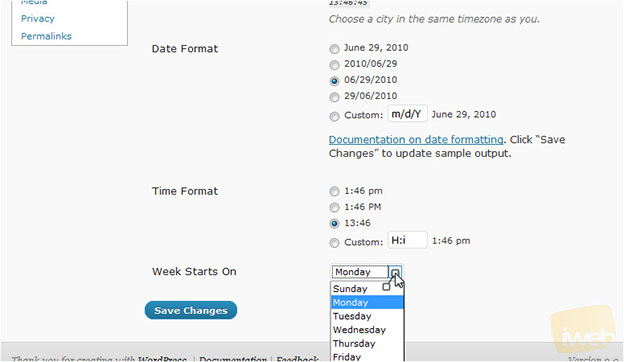
7) Select what day the Week Starts On
8) Click Save Changes when you are done.
KEK
The settings have been saved.
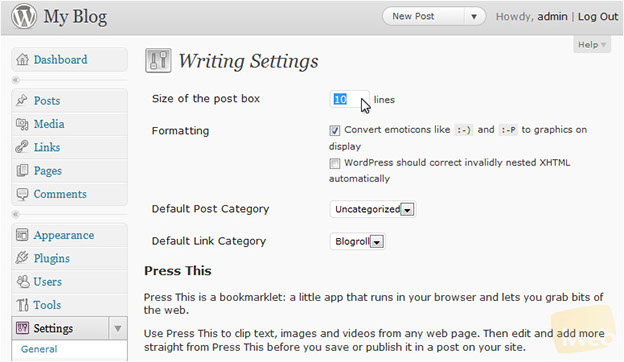
9) Scroll down. Go to the Writing settings.
On this page, you can edit the settings related to writing posts.
10) Enter a size for the post box.
KEK
11) Scroll down the page. Here, you can set up email posting.
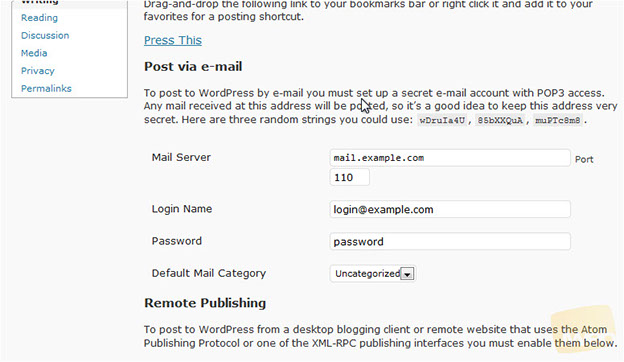
KEK
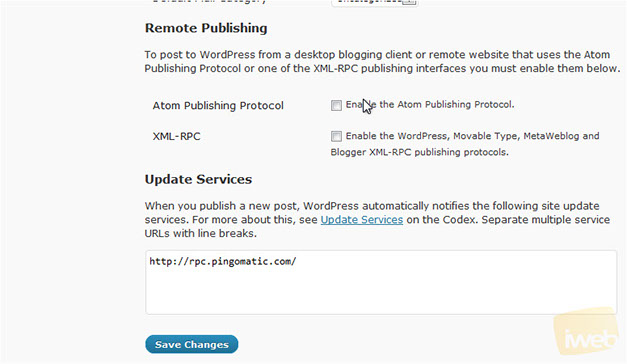
12) Scroll down. Click Save Changes.
The settings have been saved.
KEK
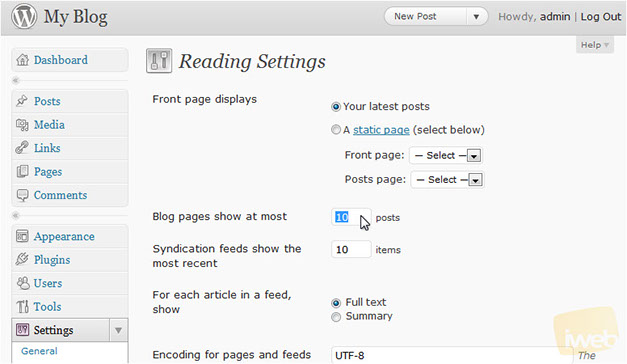
13) Scroll down. Click to change the Reading settings.
14) Set how many blog pages to show.
15) Select whether to show the full text or just the summary for each article in a feed.
KEK
Note: Bear in mind that you can also modify settings for other features such as Privacy, Media, Avatar, Maximum Rating, Discussions, Permalinks, etc. displayed by following similar steps chronicled above.