Where Websites Come To Life
Creating Private Nameservers at GoDaddy.com
Posted: May 14th, 2018
This demo assumes you have a domain name registered through godaddy.com, and starts from their home page.
Now let's learn how to create/register private nameservers (or custom nameservers).
Creating (or registering) private nameservers must be done with the domain registry where the domain name resides; to create ns1.yourdomain.com here, the domain yourdomain.com must be at this registry.
Note: These steps may have been modified after initial publication by Go Daddy and no longer accurate.
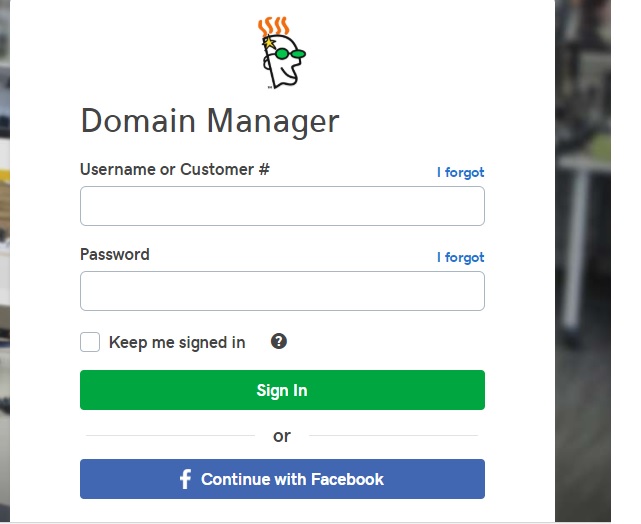
1) Enter your GoDaddy.com account Login Name and Password via Domain Manager.
KEK
2) Then click Sign In button or Continue with Facebook.
You are now logged in to your Domain Name Manager.
3) Then click on the domain name you want to use to create private nameservers.
4) Click the Add link in the Host Summary section.
5) Enter the new nameserver name in this box....
6) ..... and the new nameserver's associated IP address in this box (the IP address would have been provided to you by your web host).
7) Click OK when finished.
When finished creating this nameserver, you'll have to repeat the process to register your second nameserver..... "registering private nameservers" requires you to register two separate nameservers (i.e. ns1 and ns2), each with it's own unique IP address.
Remember that after you submit your new nameservers and IP addresses to the registry, it can take 24-48 hours for the new nameservers to propagate, after you make these DNS changes (just like for new domain name registrations).