Where Websites Come To Life
How to Install WordPress
Posted: May 14th, 2018
WordPress is well-known for its ease of installation. Under most circumstances, installing WordPress is a very simple process and takes less than five minutes to complete. Many web hosts now offer tools (e.g. Fantastico) to automatically install WordPress for you. However, if you wish to install WordPress yourself, the following guide will help.
This tutorial will show you how install and configure WordPress.
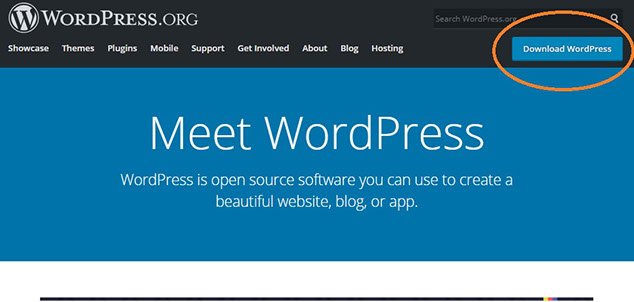
1) Assuming you are on WordPress.org website. From the main page, click on Download WordPress button.
KEK
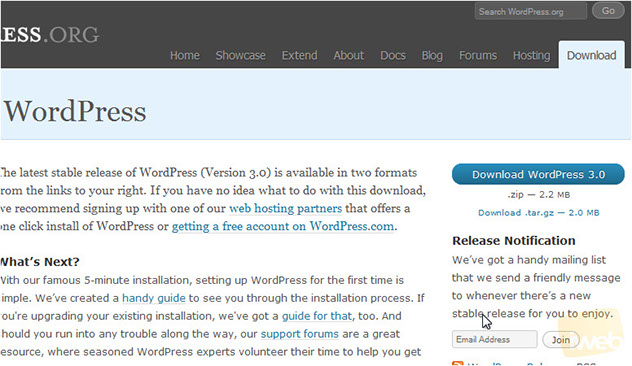
2) Click to download the latest stable release.
3) Choose your download version.
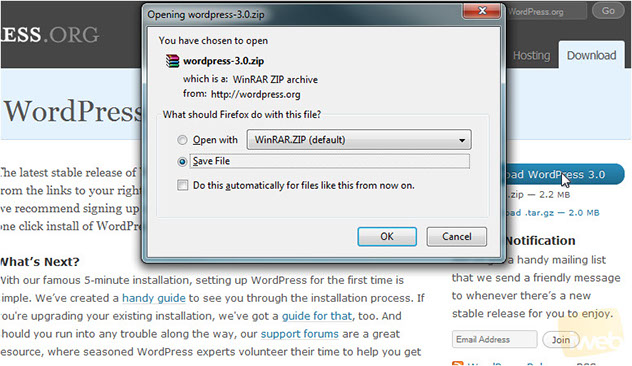
4) Save the file then go to where it was downloaded.
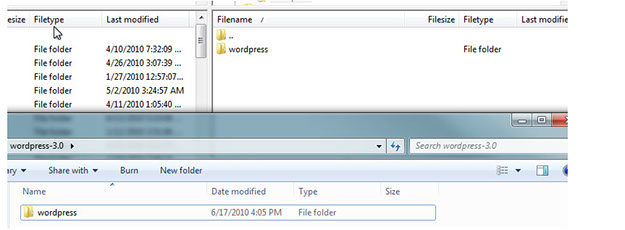
5) Extract the files.

6) Now, open the folder.

You willl need to upload the entire WordPress folder to your server using an FTP manager like FileZilla.
7) Once the files have been uploaded, go to your site in your web browser.
8) Click to Create a Configuration File.

9) Click the Let's go! button to continue.
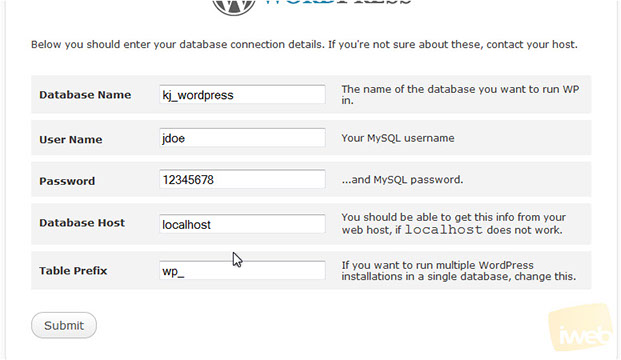
10) Enter your MySQL username.
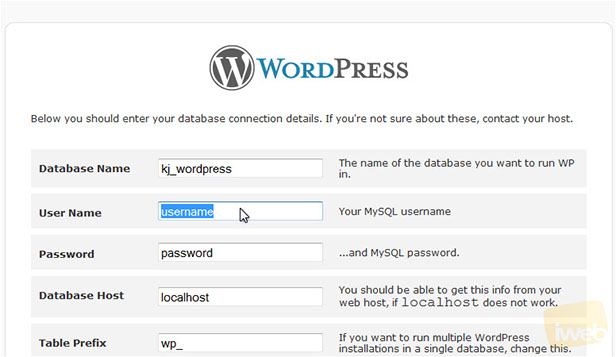
11) Now, enter your MySQL password.
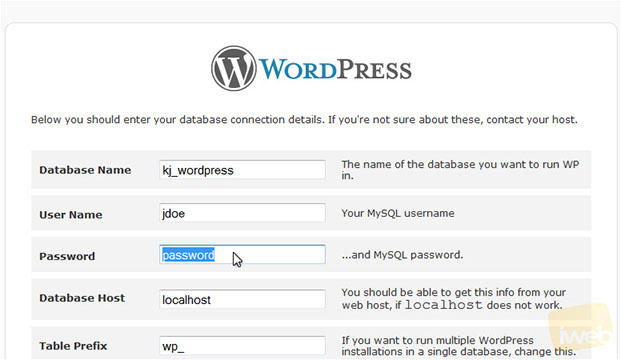
12) Scroll down and click Submit.
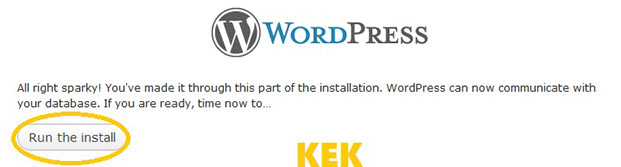
13) Now, Run the install.
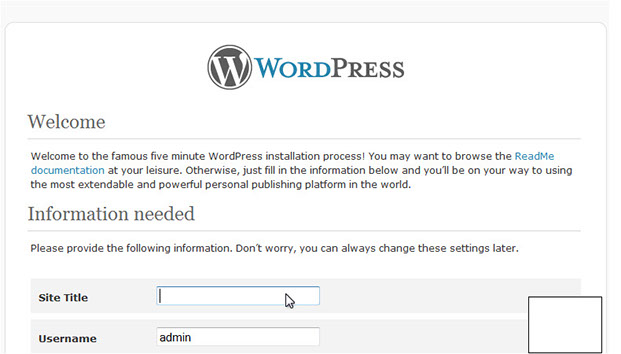
14) Enter a Title for your blog.
15) If you don't want a password generated for you, enter the desired one in these boxes.
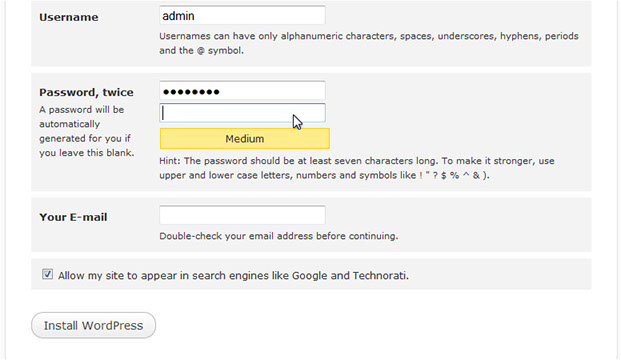
16) Enter your E-mail address. Click Install WordPress to finish.
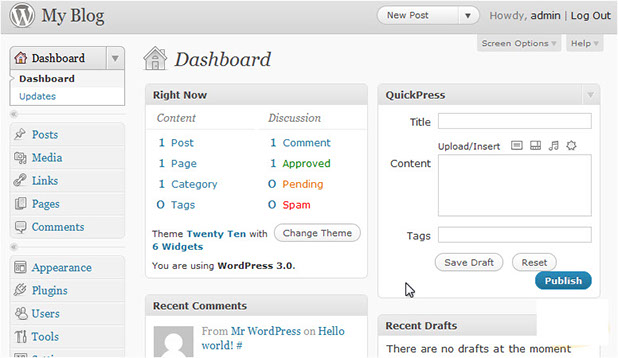
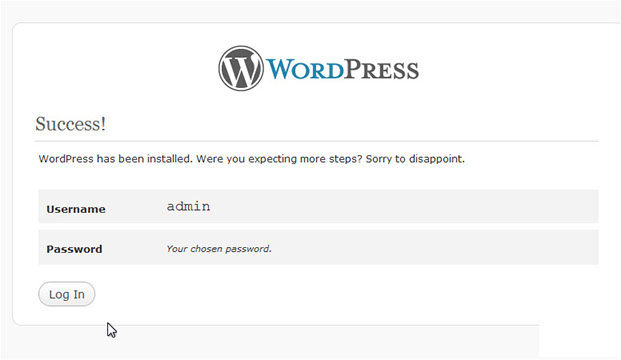
17) Click Log In.
18) Enter your Username.
19) Type the Password you chose.

20) You can check this box to automatically log you in from now on. Click Log In when done.