Where Websites Come To Life
Managing files/folders & Change of Permissions in WinSCP
Posted: May 14th, 2018
This tutorial assumes you already have WinSCP running on your computer, and connected to a remote server.
Note: This procedure can also be applied to other FTP programs.
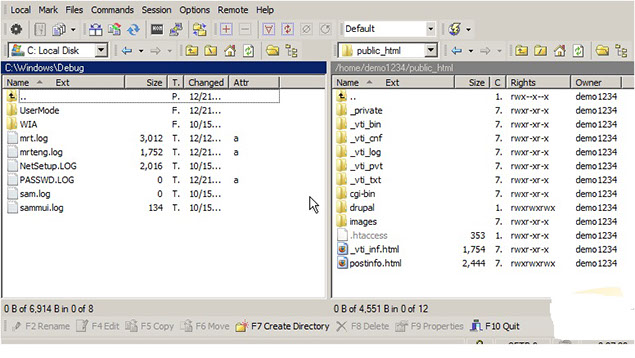
Now let's learn how to manage our website files. The first thing we're going to do is create a new folder (or directory) on the remote server.
1) Click Create Directory
KEK
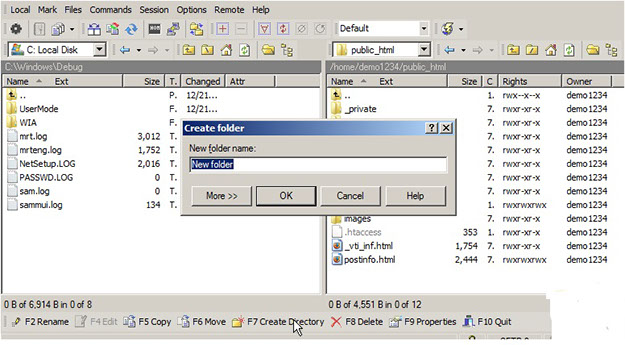
2) Type the name of the new folder here, then click OK.
KEK
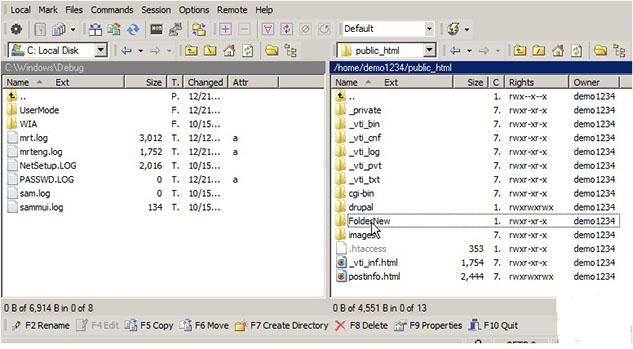
That's all there is to it. Now let's rename this new folder...
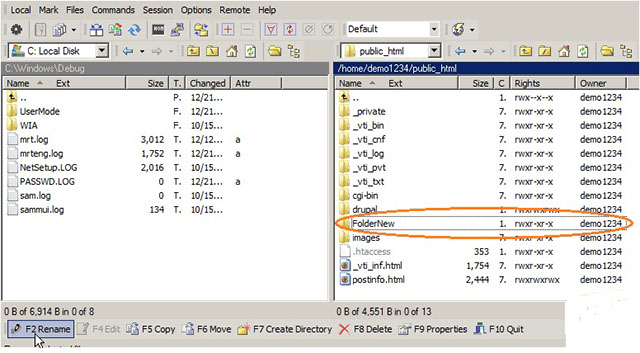
3) Select the folder to be renamed.
KEK
4) Click Rename
KEK
5) Type the new name of the folder, we willl rename FolderOld.
The new folder has been renamed. You can also rename Files the same way as you rename Folders.
To delete a folder (or file), make sure it's highlighted...
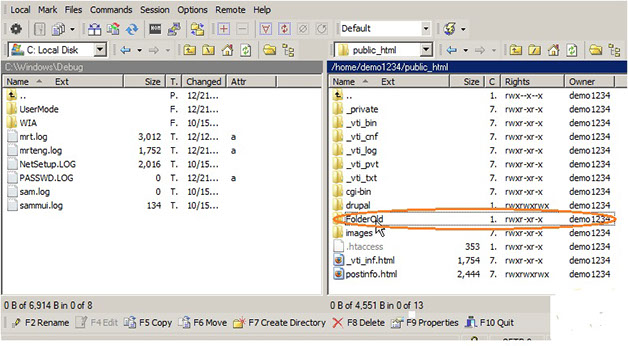
6) Select FolderOld.
KEK
7) Then click Delete.
The folder we just created has been deleted.
Now let's learn how to change the permissions of a file.
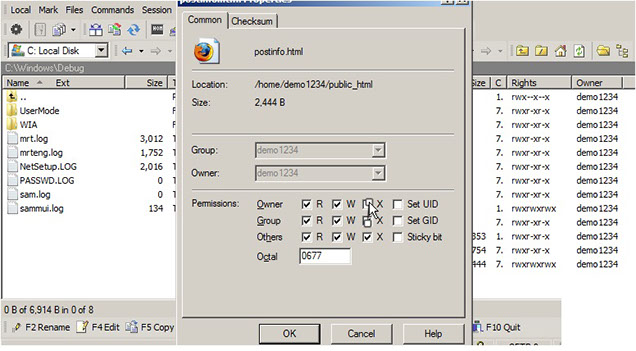
8) Select postinfo.html. Then click Properties.

KEK
9) To change the file permissions, simply enter the new permissions value here by checking off the appropiate boxes below.
KEK
10) Click OK.
That's it! Permissions for the file postinfo.html have been successfully modified.
This is the end of the procedure. You now know how to manage your files and folders in WinSCP and other FTP programs, including creating new folders, renaming them, deleting them, and changing file permissions.